In order to be able to update your screen via www.topazcms.com, you need to connect the screen to the internet via your local Wi-Fi network. Please follow the instructions below for how to connect your screen wirelessly.
IMPORTANT NOTE - This wifi connection must be a private local network with direct internet access - NOT a public network (eg, ensure a confirmation or guest code is not needed for access). Openzone Networks cannot be used.
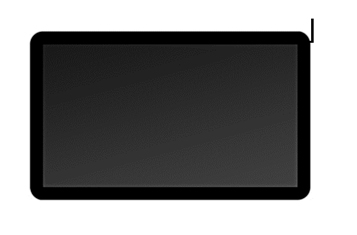
- Carefully unpack your screen. In the accessories bag you will find a Wi-Fi antenna. Carefully screw this onto the Wi-Fi connector in the top corner of the screen.
- Place the screen in a location with a strong Wi-Fi signal and plug the screen into a power point. Turn the power on and your screen will automatically boot up.
- Your screen will now initialize the internal W-Fi card. Once initialized it will try to connect to a Wi-Fi network but fail - this will fail because it hasn't been set up yet.
- The screen will then begin to display its default content. Press STOP button on the remote control to go back to the home screen (pictured below).
NOTE - The sensor for the remote control is located in the bottom-right of the screen - You can then bring up the Main Menu by pressing "SETUP".
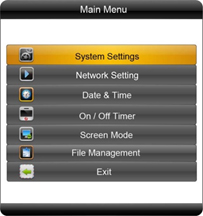
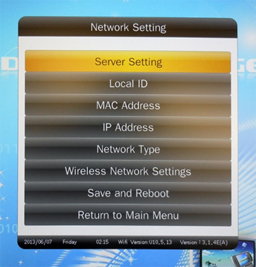
Press ↓ to highlight 'Network Setting' in yellow and press "PLAY" to confirm selection. You will then see the following options:
- Server Setting
- Local ID
- MAC Address
- IP Address
- Wireless Network Settings
- Save and Reboot
- Return to Main Menu
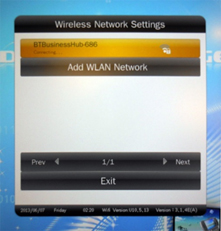
- Press the down arrow to highlight 'Wireless Network Settings' in yellow and press "PLAY" to confirm selection. When you open this menu you should (after a few seconds) see a list of available Wi-Fi networks. Navigate to yours and press "PLAY" on the remote control.
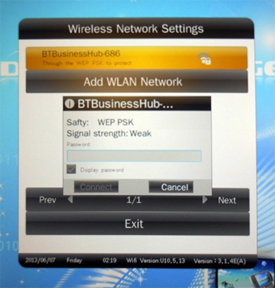
- You will now be asked to enter your Wi-Fi network password. Press "PLAY" to bring up the on-screen keyboard.
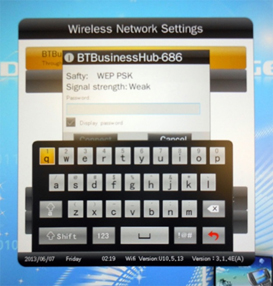
- If your password contains numbers you can access the number keypad by highlighting "123" and pressing "PLAY". Once you have entered your password, highlight the "Enter" key and press "PLAY".
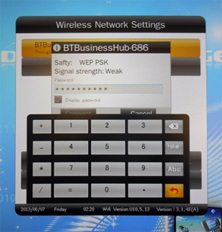
- Now highlight "Connect" and press "PLAY".
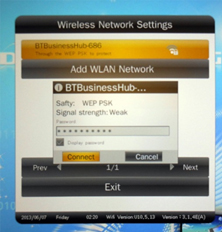
- You will now see the following as your screen attempts to connect to your Wi-Fi network. The status should be "Connecting…".
- Once your screen has established a connection to your network the status will change to "Has connected".

- Finally, navigate to "Exit" and press "PLAY". This will bring you back to the "Network Settings" menu. Navigate to "Save and Reboot" and press "PLAY". This will save your network settings and ensure that every time your screen is powered up it will use these settings to connect to your Wi-Fi network.

Your screen is now ready to be updated via the CMS software.
Note: If you have made any changes to this section you must highlight and select "Save and Reboot" before they can take effect.
For full Wireless Setup Instructions and Troubleshooting please download the Wireless Setup Guide.
Back